Pint-sized Piñata DIY


 To state the obvious, piñatas are one of the greatest inventions of all time. They deliver delicious candy in an adorable package that you get to smash– perfection. The one and only downside we could think of when it comes to making one of these is the amount of time it requires: let’s face it, a craft that requires more than 24 hours of paper-mâché drying-time is pushing the bounds of what can be considered fun.

Enter the pint-sized piñata. All the fun and charm of your typical piñata, in a teeny-tiny package that takes next to no time to make. This is the future people. There isn’t a room in my home that can’t be made immediately better by the addition of one of these little cuties. Here’s the how-to:


1. Gather a glue gun, scissors, a pencil, twine or string, cardboard (pretty much anything thicker than paper will do), and tissue or crêpe paper in whatever colours you’d like. We went with the standard pink and green watermelon colour scheme– don’t forget a darker shade paper for the seeds!


2. Trace and cut out a circle about the size of your palm, and a long strip of cardboard about the same width as the circle. Fold the circle in half along the centre line.


3. Place the folded circle (which should look like a wedge-shape) on the long strip of cardboard, and cup it in your hand so that the strip follows the edge of the wedge-shape on both sides. Trace the shape with your pencil, then cut it out. Glue along the edge of the resulting diamond-like shape, and press it against the wedge until dry. It should look like the world’s least appetizing watermelon slice at this point. Glue one end of twine to the top, so that you can hang your piñata when it’s finished.


4. Time for the fun part! Cut out strips of crêpe paper and cut little notches along one edge to create a fringe. Glue them down from the flat side of the watermelon up towards what would be the peel, making sure to overlap so you don’t see any cardboard. For the peel, cut out one long strip of paper and wrap it around the edge. Fold the fringe part down and over the pink section. Repeat on the other side, then fill in the remaining space with more strips of paper.


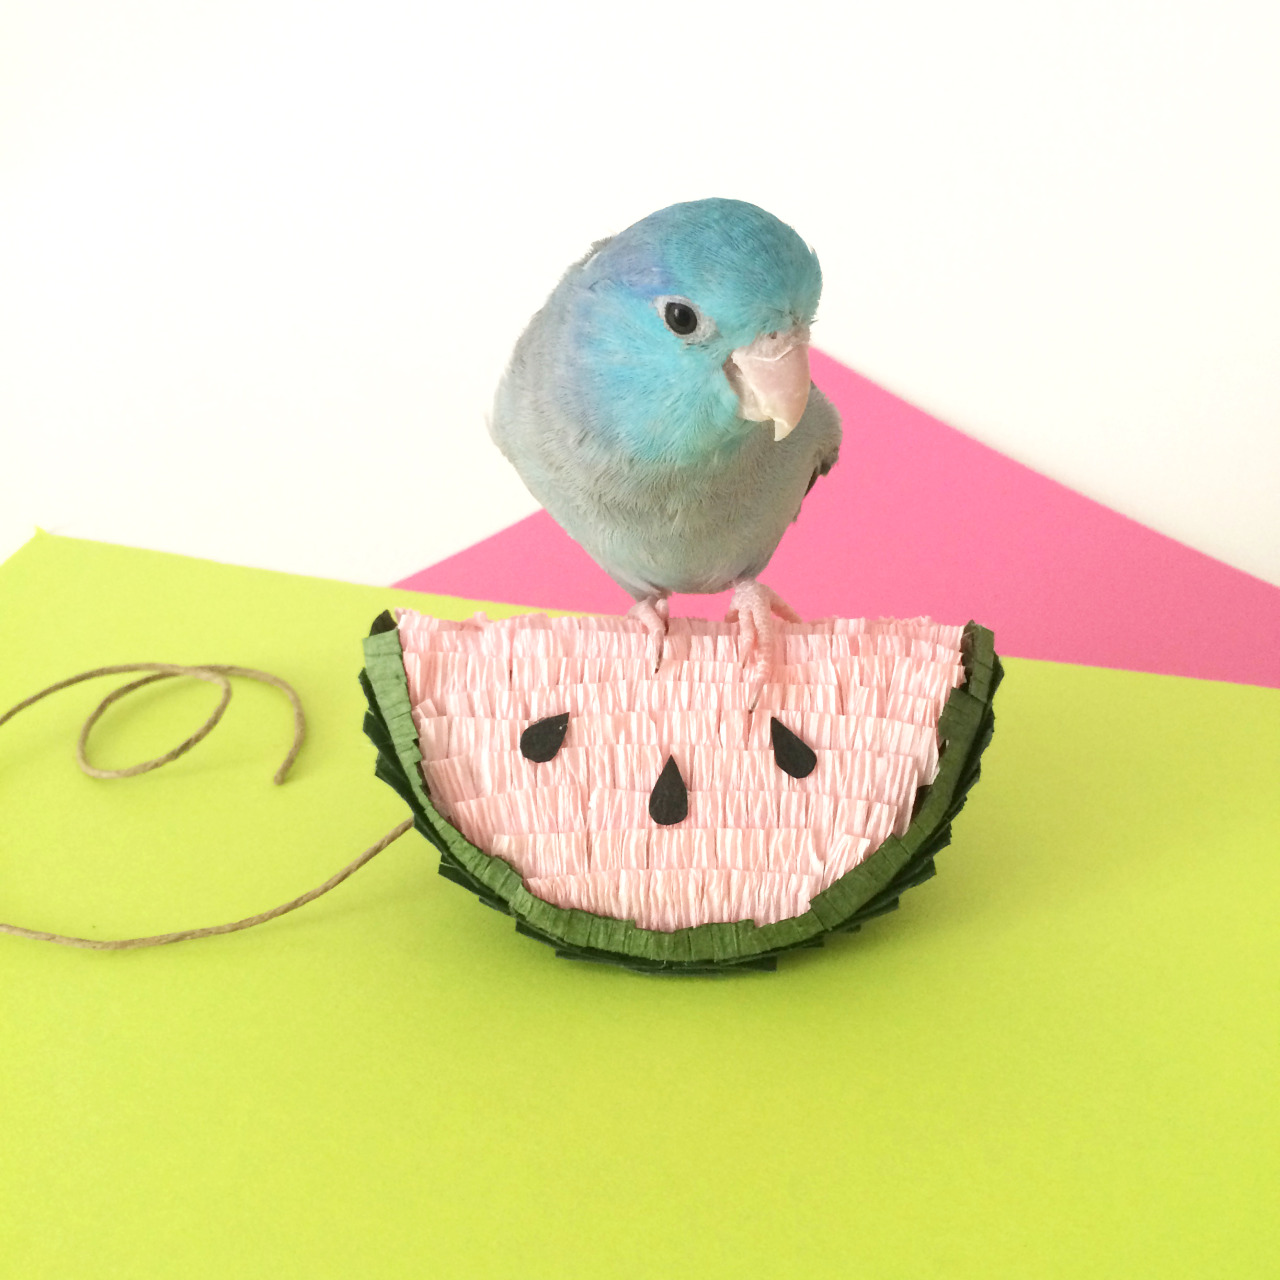
5. Don’t forget the seeds! Three little tear drop shapes on either side should do it.
That’s it! String up your little watermelon wherever you want and bask in its adorableness.


DIY Crochet Baby Bear Hat


Happy Sunday from my little bear! 
I have officially completed my first crochet project, and it wasn’t that hard!! The tutorial I used on YouTube was awesome, and there are plenty more I will be trying out in the near future.


 Go to http://youtu.be/-DfQVzLaKww to try your hand at some cute baby crocheting 😍👶🏼🐻

3 Ingredient Moisturising Facemask


If you’re like us, you aspire to watching TV, eating snacks and wearing a face mask curled up on the couch. The only problem? You forgot to buy one, and don’t want to leave the house. The solution? This very easy DIY mask, made from items you will always have in your pantry (if you’re like us and eat guacamole on the reg). Remove your makeup before using, and avoid using if you have any allergies to the ingredients. Rinse off after 10 minutes. 


Avocado. You beautiful, bountiful gift to the planet. Turns out there is more to avocado than consuming its delicious fruit at every opportunity. It is nutrient dense - rich in vitamins A (a form of retinol, known for boosting collagen production and cell growth), and vitamin E (natural antioxidant properties), amongst many others. It’s healthy fats and oils penetrate deep into the skin’s layers, moisturising and cleansing efficiently. 


Honey is another member of mother nature’s super food club. It is rich in antioxidants (which will help combat ageing skin), naturally antibacterial (which will help prevent acne), and opens up pores to allow for a deeper clean. 


Lemon juice also has mild antibacterial properties, will help tone and even out your skin’s blemishes, and acts as a very mild skin peel, due to its citric acid. 


The mask itself felt amazing (and actually tasted pretty good too)! After applying, we left it on for about 10 minutes and rinsed away with warm water. The after effects were noticeably smoother skin that felt clean and moisturised. 
Enjoy!


DIY Paper Flowers Photo Shoot


Impromptu photo shoot today with our remaining giant paper flowers from last month’s event. Shop this super sweet dress at https://www.etsy.com/ca/shop/PoshPeanutKids and stay tuned for the tutorial to recreate these beauties at home.
Bloomin’ adorable! 


Facebook